Larger Solar Set-up

Posted: November 6, 2014 in Uncategorized

Spec:

> 440W solar ( 2x 220w panels @ 24v)

> Approx 130ah @24v battery bank

> 120w 24v to 12v transformer

> 4x 12v sockets

> 4x usb sockets

> 1000w inverter (actually a UPS)

> All cabling 4mm^2

> 2x isolation kill switches, one between solar and charge controller and another between charge controller and batteries.

> 30a dc circuit breaker between batteries and UPS

Anyway pics below

Left to-do:

> build solar panel stand

> position ups and batteries in a better location

Solar Power Update

Posted: November 20, 2013 in Uncategorized

My solar power system has had a small over haul.

Charge controller has gone form PWM to MPPT, which gives me a bit more power form my panel, and the digital system allows me to alter settings to best suit my batteries.

The cabling inside has been upgraded from 13amp cabling to 12awg, good for about 30amps. (cable between the two 6v batteries is a hell of a lot thicker, possibly 0awg, for inverter use)

On top of that safety has been upgraded with a battery isolator switch being added tot he front and a small automotive fuse box added in case of shorts.

Additionally, I managed to scavenge 6 x 12ah batteries from work which were in a pretty nice condition. this has been joined in with my other batteries to give me a bit more room over these winter months.

In the near future (new year?) either an additional panel will be added, or I will upgrade all these batteries to two new 110ah 12v batteries.

Review Biolite Camping Stove

Posted: November 20, 2013 in Reviews

We all like gadgets, but when this crosses over with outdoor pursuits it tends to go  either incredibly well or piss poor.

Luckily this is a case of the first, what a cracking product.

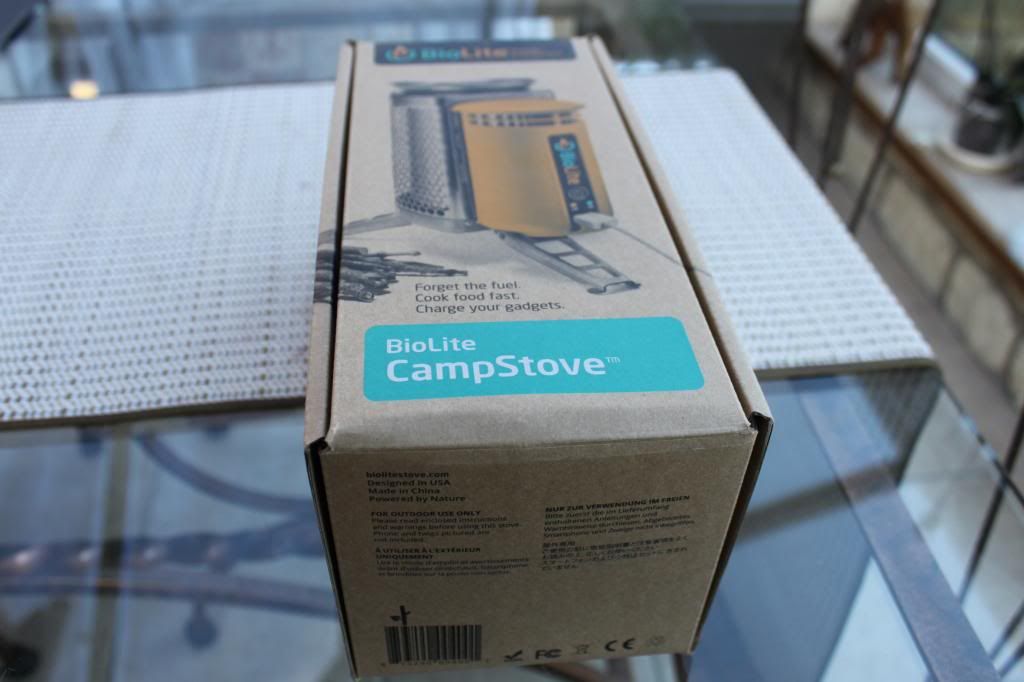
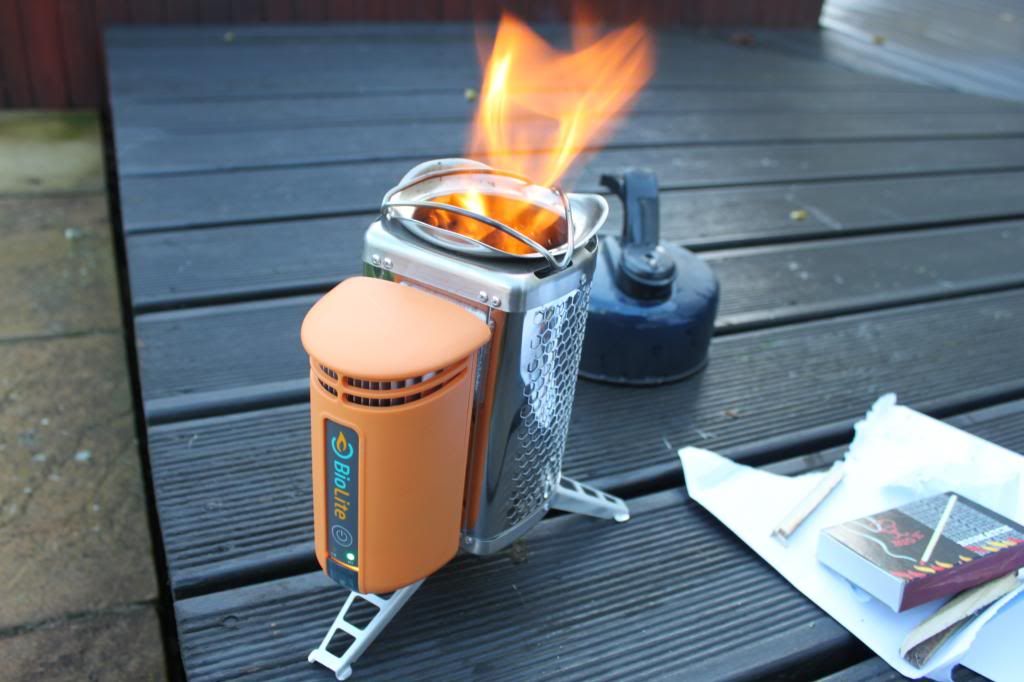
The bio-lite stove is a wood burning portable camping stove that has the ability to charge your gadgets via usb.

It takes small twigs and sticks and in return gives you a small source of power as well as all those other goodies fire gives like a means to purify water.
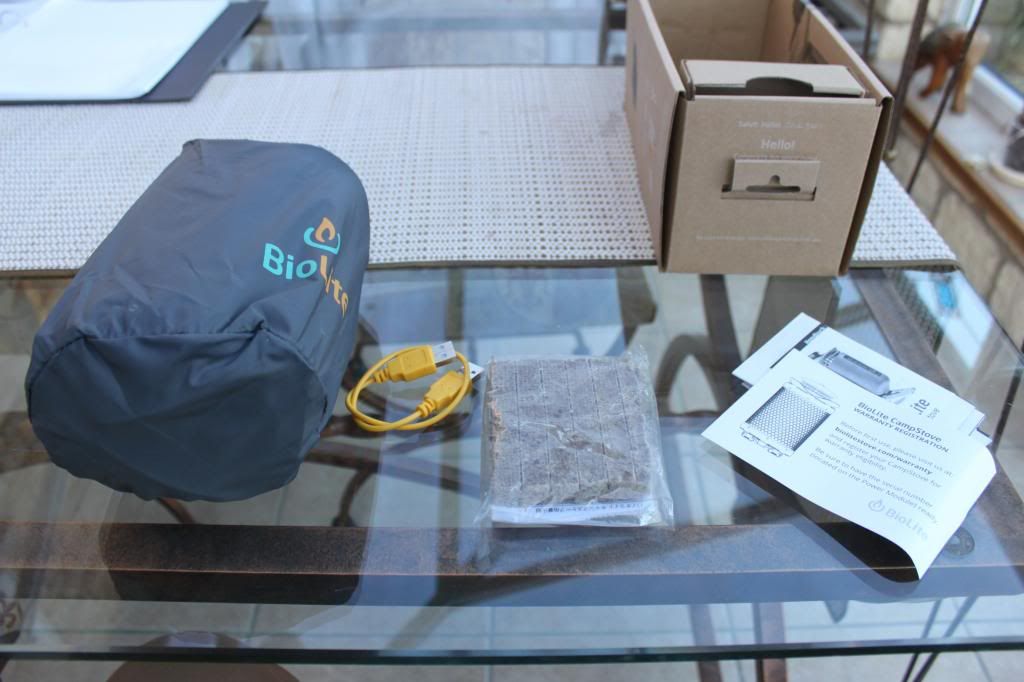
Whats in the box:
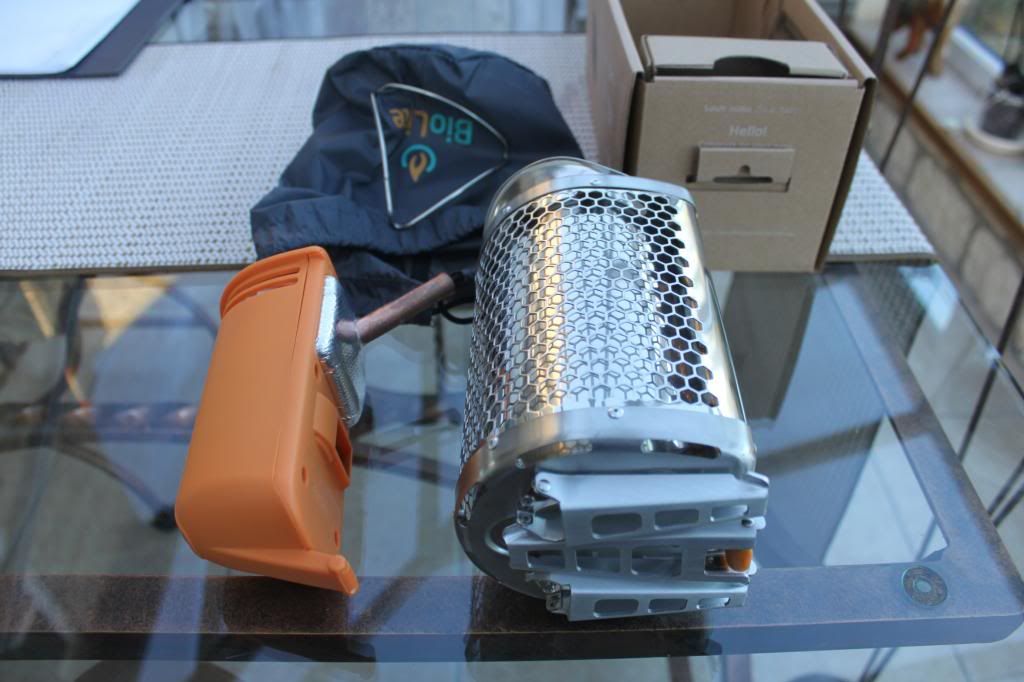
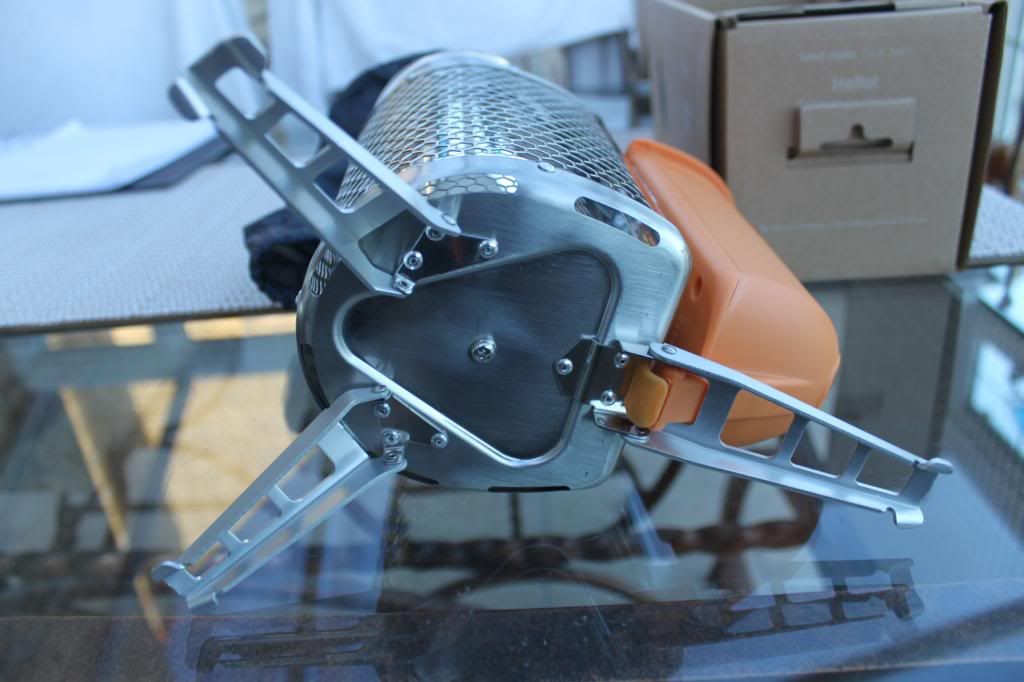
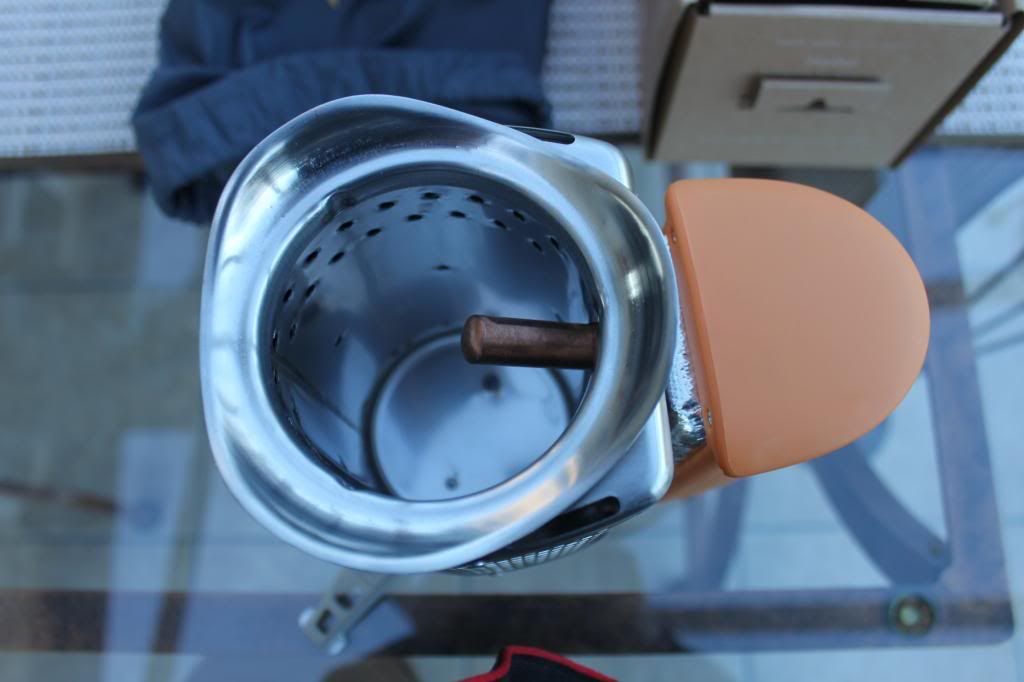
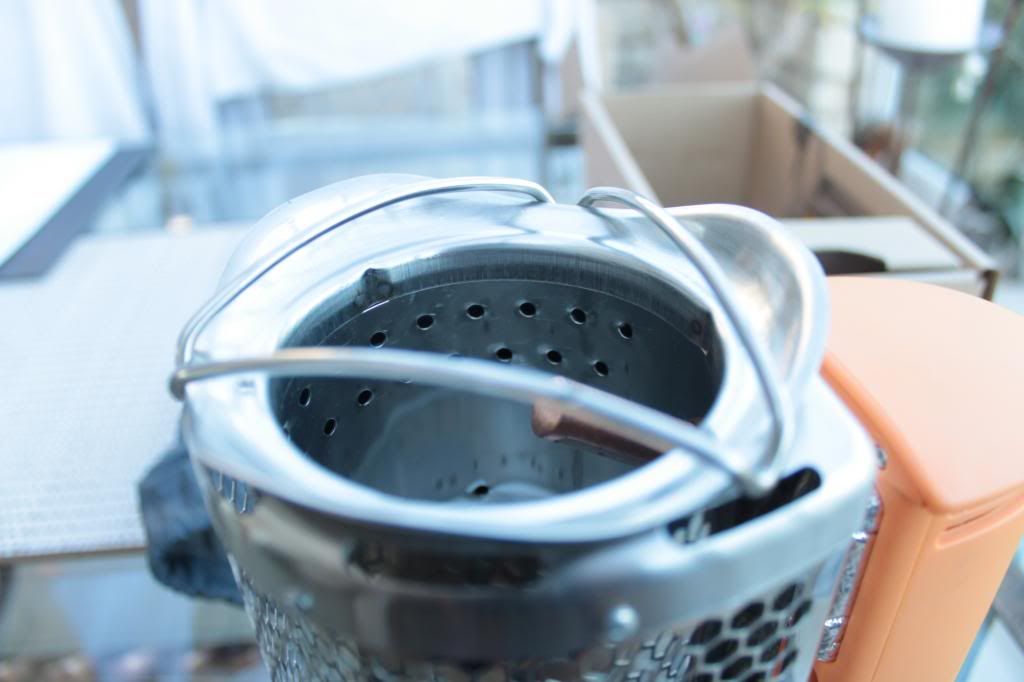
Besides from being nicely packaged, the box comes with the bio-lite stove itself (disassembles into two parts which slot in one another), a charging cable (for long periods where you don’t use this stove, enabling it to recharge its internal battery that’s used to power the fan) as well as some free (looks to be) recycled fire starting logs) and a fabric carry case to keep this stove from getting things dirty. Also included is a small pot metal ring allowing the stove to accept pots smaller than the opening of the stove, needed for pots the same diameter as a can of coke.

Testing

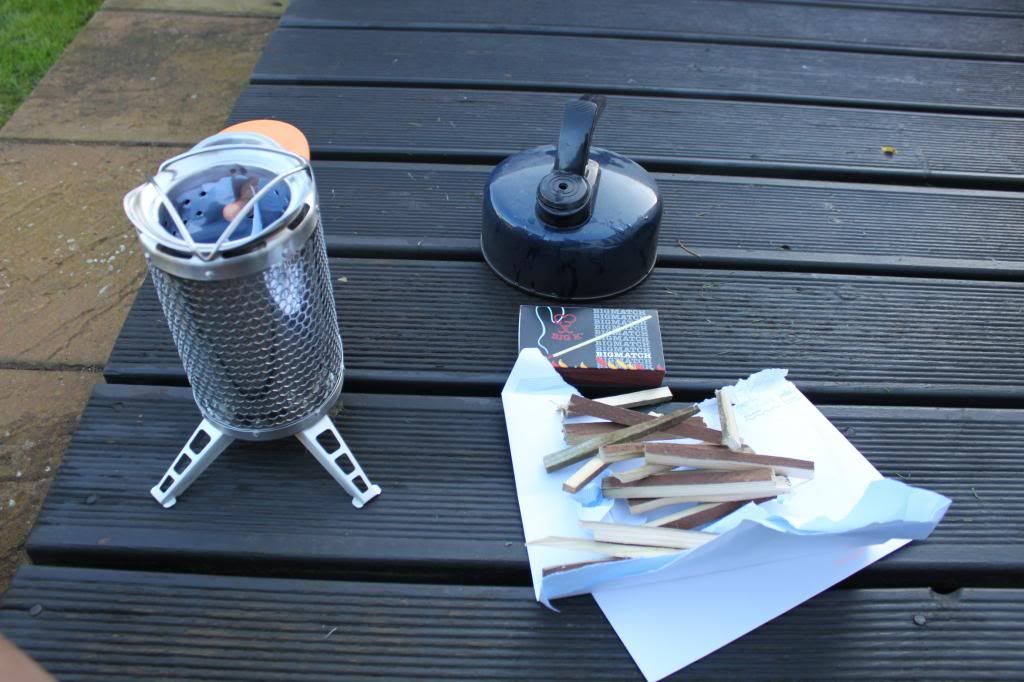
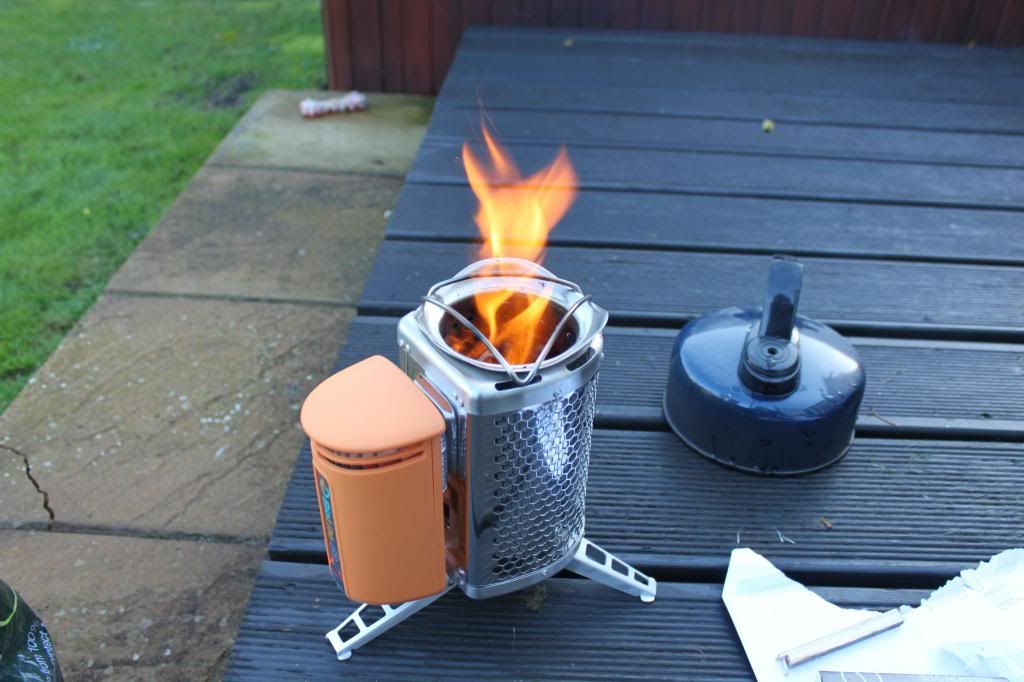
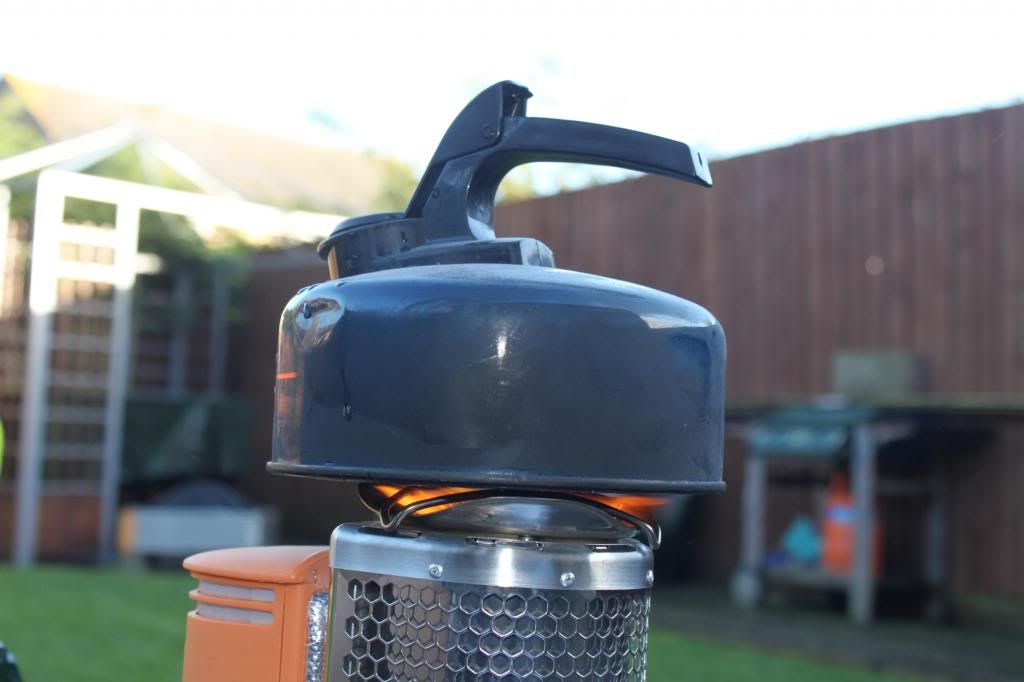
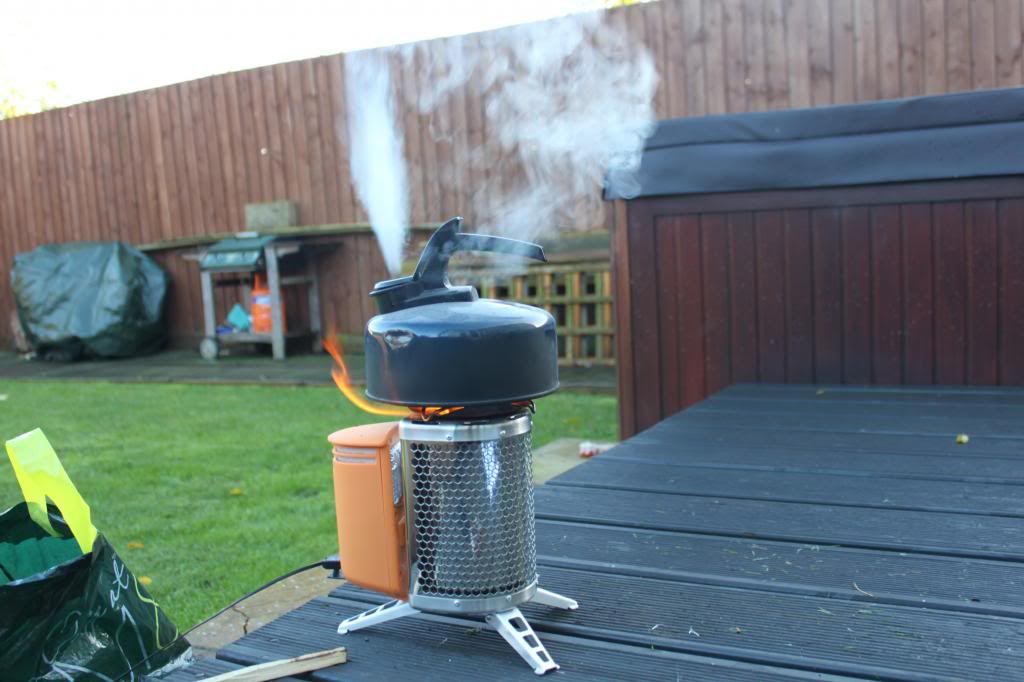
Loaded up with some old fence panel wood strips and a kettle of water the first burn began.

Initially, the stove its rather smokey, i believe this to be down to it burning off the paper I used as a fire starter, its interesting to note that after a few seconds the stove kicked off, flames shooting out and the smoke stopping instantly

The kettle contained about 700ml of outside tap water, about 4*C

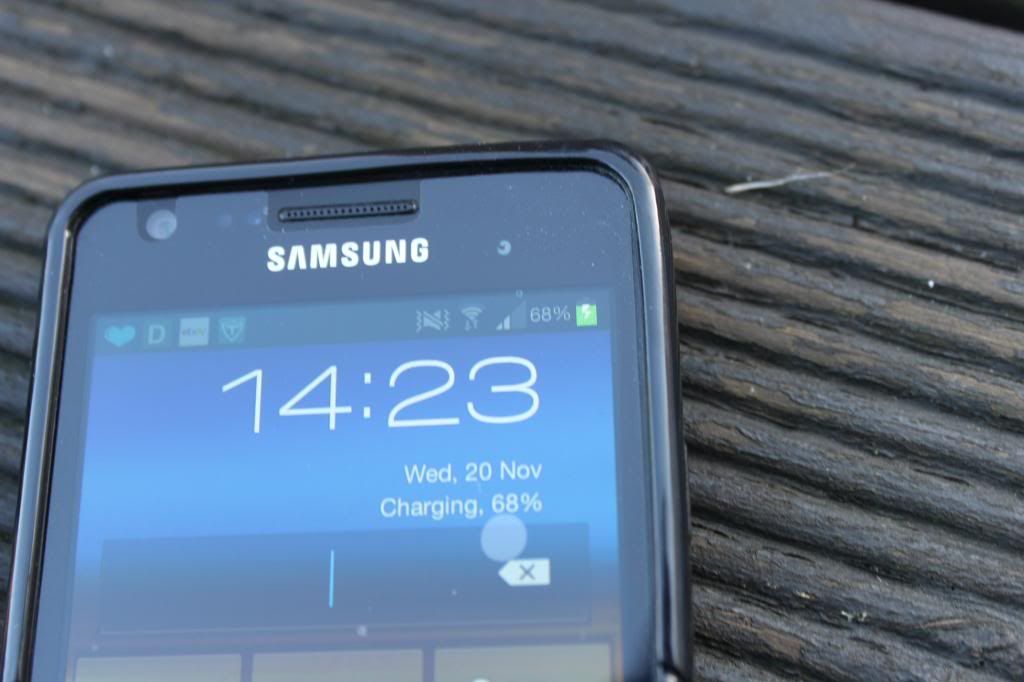
Success, after 4-minutes from initial lighting the stove the device starts putting out electricity tot he usb port

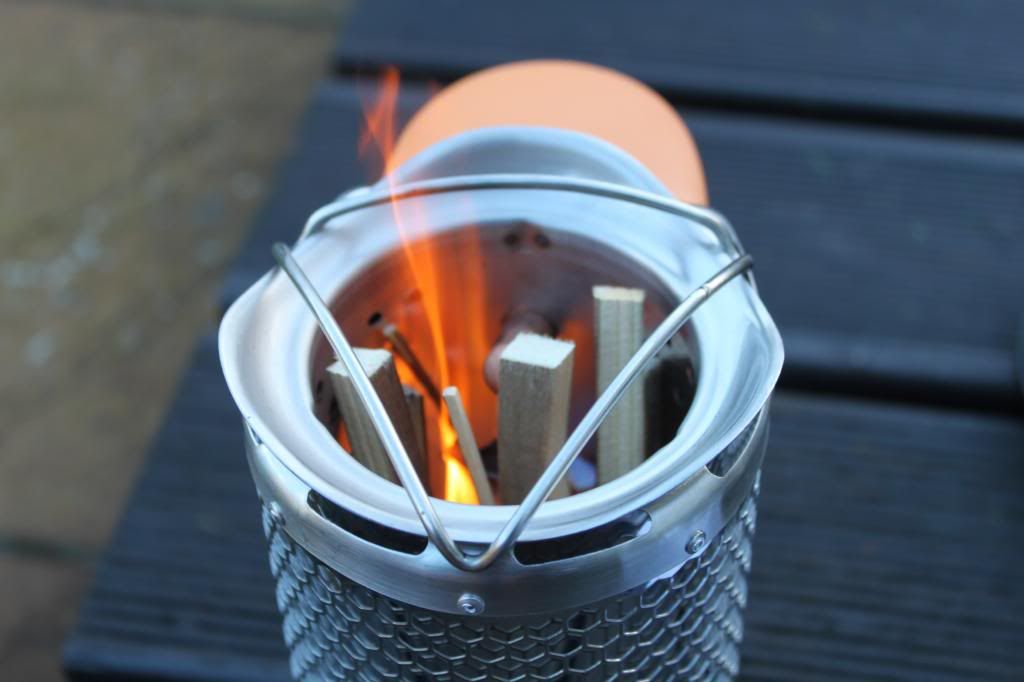
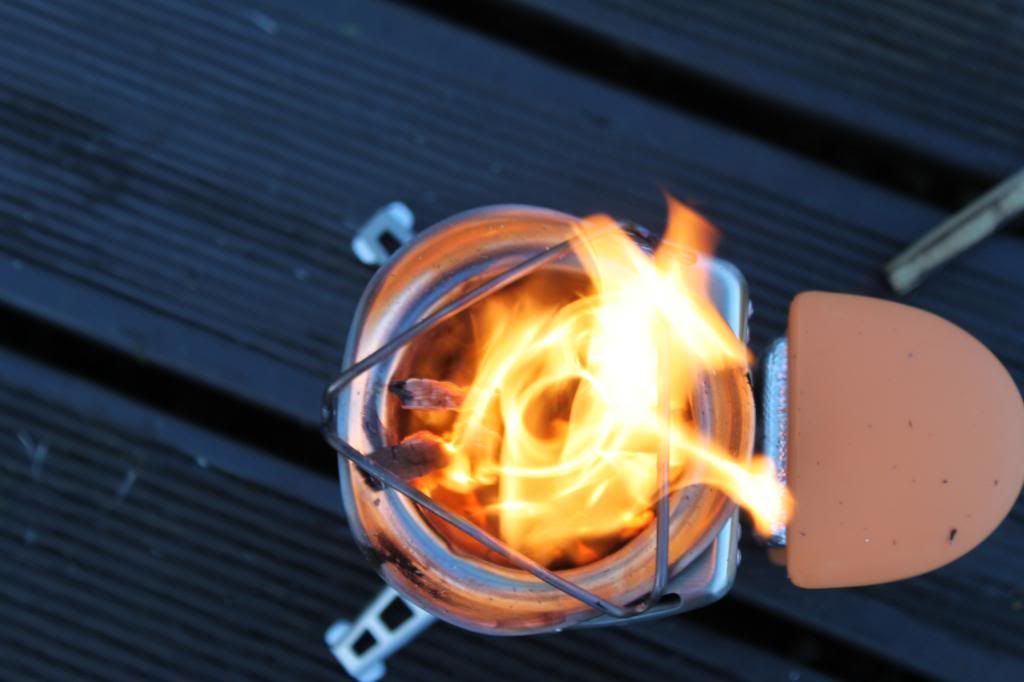
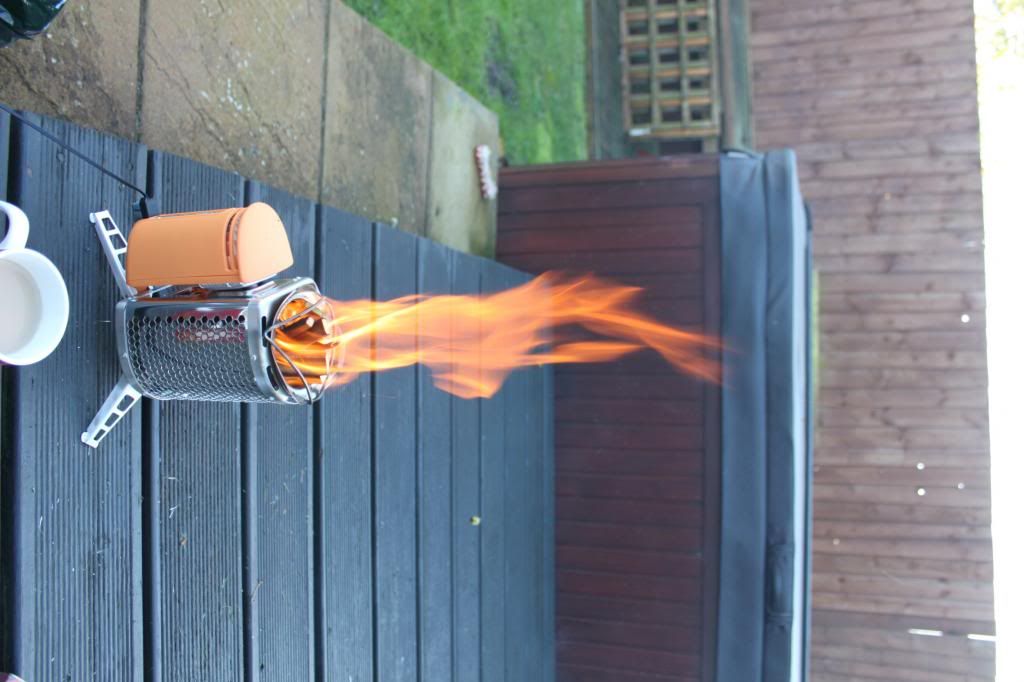
Below you can see how the fan causes a vortex affect in the fire, the wood-gas giving a secondary burning

Filling full to see how big flames can get

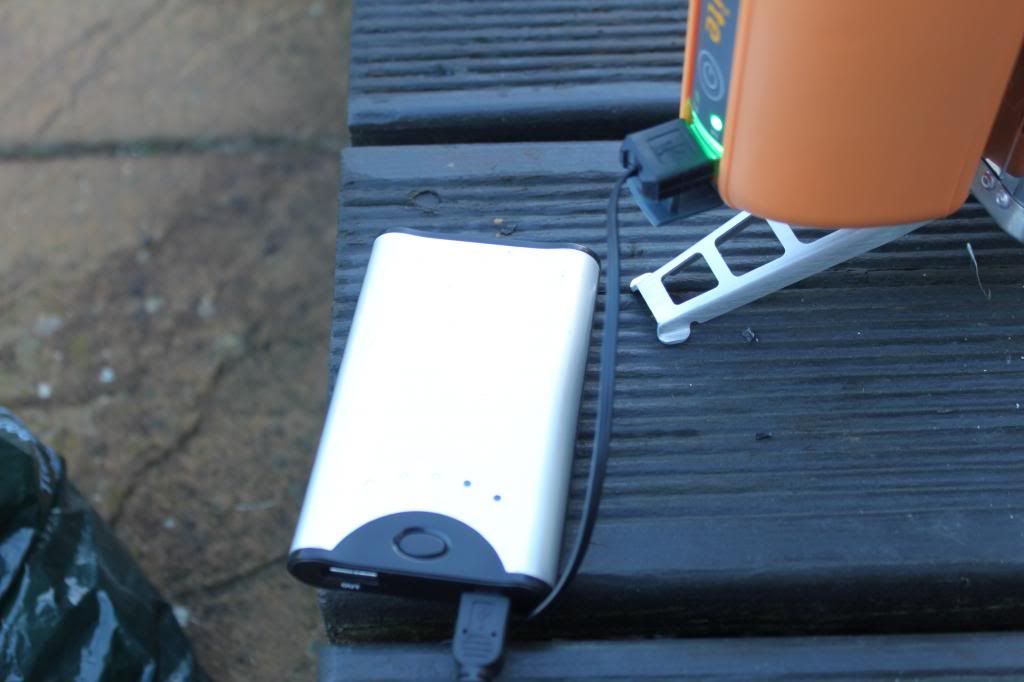
Charging my USB battery pack

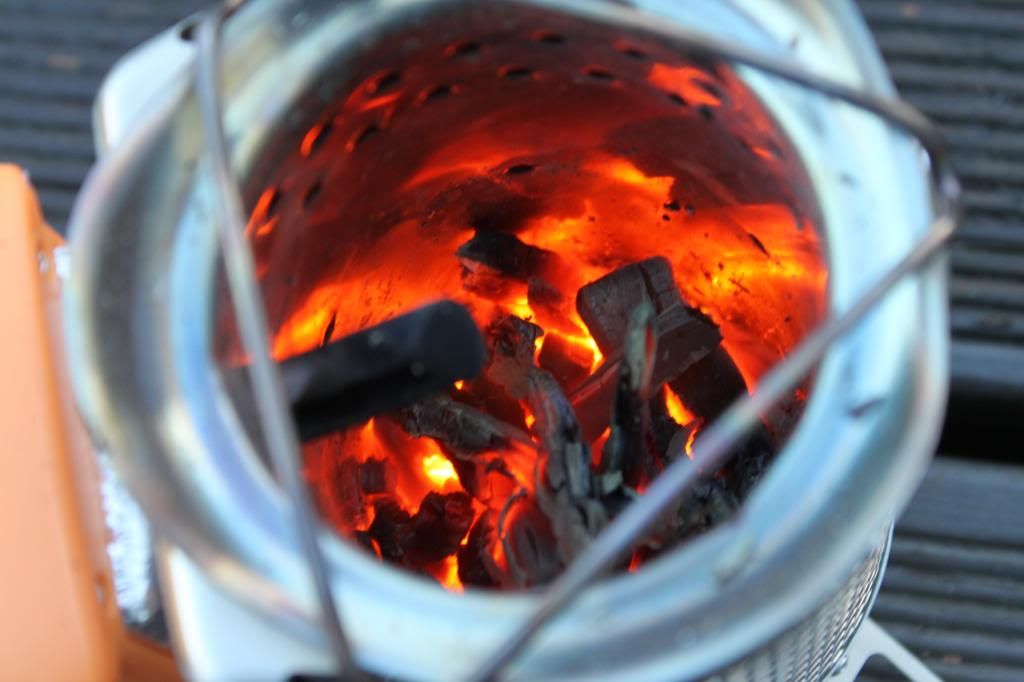
Once finally burnt out, the leftover ash was tiny, going from very few sticks to a pile of ash that could fit in cup of one hand.

Tips:
> Start fire on low fan, then go to high until there’s good flames and then return to low fan speed, I found being in lower fan enabled the usb charging to remain on for longer.
> Sometimes cycles the fan modes helped enable the USB mode.
> Don’t use sticks higher than the inside of stove as it stopped you form putting kettle on top.
> The 3 legs are stable, but look for the flatted area possible.
> After the first burn and when you go to store it away, use a secondary back to protect the orange power unit when you put it inside the stove, otherwise it’ll come out black and covered in dirt next time

Overall:
Price: 4/50 @ £90 delivered
Size: 4/5, its rather bulky
Appeal: 5/5, means having to carry no fuel and being able to charge gadgets
Bonus: 5/5, who doesn’t like the smell of burning wood and being able to cook marshmallows anytime they want.

EDC: Every Day Carry

Posted: September 29, 2013 in Information

What i tend to have on my person at most times.

Keys have been taped for privacy.

> Wallet
> Phone
> Metal pen
> Contact case
> Car keys & house key (attached to keyring via quick release)
> Keyring (consisting of leatherman squirt, peanut lighter, contact details, cash vault (£20 note), handcuff key)

 photo IMG_3447_zpsca5eff64.jpg

EDCC: Every Day Carry Case

Posted: September 29, 2013 in Information

Everyone has those few items they carry almost religiously with them everyday. For most this is usually made up of your wallet, phone, keys and maybe a pen or even medication.

For some of us, this area expands a little to include those what-if items and useful products which are just handy to have in arms reach.

Below is an outline of what I like to have on or around me in general, its all self-contained in this small kit bag which I can slip into whatever bag I happen to be carrying or my car boot when a bag isn’t an option.

The case: an old game-boy advanced soft fabric bag with two front zipper pockets.

 photo IMG_3439_zps9f0a2dd3.jpg

 photo IMG_3440_zps826729ca.jpg

Front top pocket:
> Leatherman Juice XE6 (multi-tool)
> Fenix l1D (torch)
> Compact roll of duct tape

 photo IMG_3441_zpsfe8a0923.jpg

Front Bottom Pocket:
> Spare mobile battery
> USB to USB Micro B (used for phone)
> USB to USB B (used to charge battery pack)
>12v to USB adapter
> 3,400mah USB battery pack
> 3g Mobile router

 photo IMG_3443_zps9f3944bd.jpg

Large Back Pocket:
> First aid kit (plastics, bandages, eye wash, antiseptic, CPR mask)
> 1oz silver coin
> Swimming goggles (in case of smoke hindering visibility)
> Pocket knife sharpener
> Waterproof notepad
> Lighter
> Mini sharpie
> Paracord
> Spare AA batteries
> 240v mains to USB
> Spare contacts and solution (silver case bottom right)
> Assortment of mobile adapters (adds to usb cable to allow me to charge other peoples mobiles)

 photo IMG_3445_zps8faf81ae.jpg

Exploration: Ireland

Posted: September 28, 2013 in Exploration

So went to see a mate and his Irish Missus out in the republic of Ireland

Week of enjoying the outdoors and laid back life in the country; fishing, camping, fires, ‘turf’, all the good stuff.

Few pics to explain my 8/9 days of being absent.

Review: AAA to AA Adaptor

Posted: September 28, 2013 in Reviews

A nifty little gadget that allows you to use AAA batteries in replace of AA.

Now whats the use in this I hear you say? Well now its possible to standardize your batteries to just one type (AAA) rather than having to collect and use both. Lowering overal cost and having the possibility of being stuff with only full AA’s when you need AAA’s

http://www.ebay.co.uk/itm/AAA-to-AA-…item415f3491dc

 photo EB094T_zps13a35ce1.jpg

Product Review: Ansmann Powerline 4 Pro

Posted: September 28, 2013 in Reviews

The Ansmann powerline 4 pro is a AA/AAA battery charge and power analyzer for all your rechargeable needs.

I’ve had this battery charger now for 3 days and what a piece of kit!

It comes with mains 240, 110v and even a 12v cable to power it.

There are 4 modes (different ones can be chosen for each one of the 4 batteries you put in)

Charge: does what is says, simply full recharges the battery from whatever is left in them

Discharge: fully discharges the battery before recharging it

Refresh: cycles though discharging and recharging until the capacity cant be increased anymore (max 10 cycles)

Test: fully charges battery, discharged and then recharged to show actual capacity of the batteries.
On top of these four mode settings you can adjust the rate at which it recharges and discharges(400ma,800ma if you have more than 2 batteries and 400ma,800ma, 1500ma and 1800ma if you have one or two batteries.

Another great feature is it accepts mixed AA and AAA unlike most chargers, so could have one AAA and 3 AA batteries charging at the same time.

The 12v cable provided is nice and long at around 2m so i can have charger on desk from my solar powered 12v socket to watch it charging.

Another nice feature is it comes with a usb 5v 1amp socket to charge your goodies at the same time.
Overall I highly recommend this bit of kit, got mine for under £30 on eBay and is nice to be able to see the true capacity of all the different brands of rechargeable I’ve got (7day shops AA good to go ones so far have more capacity than the stated 2150mah shown when I’ve got almost 2300mah from them)

Ebay: http://www.ebay.co.uk/itm/2212484697…84.m1439.l2649

Mini Solar System

Posted: September 28, 2013 in DIY

My Mini Pod Solar system

Below I will be talking about my construction of a mini system I have designed to be portable when traveling or at campsites. It consists of a 47w folding solar panel, a 10a PWM charge controller, 2 x 17ah batteries, a 300w modified sine inverter and finally a car 12v/usb output connection. In total it weighs probably around 25kg-30kg.

The folding solar panel was custom built by myself, instruction on this process can be found at the following links:

Part 1: https://shoestringprepping.wordpress.com/2013/08/28/diy-folding-solar-panel/
Part 2: https://shoestringprepping.wordpress.com/2013/09/28/diy-folding-solar-panel-part-2/

After much searching a box was found to be of the right dimensions to allow everything to be stored in snugly. The two batteries are zip tied to the case itself in parallel (maintaining the 12v), meaning they can’t fall over or cause damage to anything else in the box.

With my solar systems I like to group the positive and negatives at a junction point rather than at the batteries as it can get messy having 4+ connections at each terminal joint. In my larger solar system I used a buss bars (essentially a piece of metal with lots of screw holes in it); this system is a little too small for that to be needed so electrical choc block was used instead.

With this mini system fuses haven’t been added as I can disconnect the solar by unplugging it, there’s a switch between charge controller and batteries, another between 12v/usb sockets and batteries and most 12volt accessories that you plug into cars have a small, easy blow, fuse inside it anyway.

Under the panel in the box I have included the cables to connect the inverter separately from the system (e.g. if you’re in a car and want to plug it into the lighter) as well as including an extension lead for the solar panel so it can be set up further from the box. There is also enough storage for any other small electrics that might need to be transported (such as camera battery charger or AA/AAA battery charger)


I hope this write up explains a lot of the questions floating out there regarding having a small solar system. If these are still anything unexplained questions left, please ask.

Footnote: The above is copyright to myself (Webboy), along with all pictures. Please seek permission before copying/ distributing (I’m a nice fella and will most likely say yes, just nice to be asked is all)

DIY Cable Tidies

Posted: September 28, 2013 in DIY

Was browsing though countycomm website last night (one of the few stores I wish we had in the UK) and noticed these lovely creations, http://www.countycomm.com/gt3.html, used to tidy up cables and the like. I went on a search for a UK provider and only source I could find was charging £6 for just TWO!

My brains started ticking over about the actual creation of them and came up with the following bodge-job:

With just picture wire (keep some around for the potential to be used as snares) and crap piece of cheap-ass para-cord I was able to replicate the project for mere pennies. Only tools needed were wire cutters on Leatherman, knife to cut cordage and lighter to burn ends.

The para-cord was cut to the length I wanted for the cable tie (about 9cm) and the inside pulled out (my para-cord was a cheap knock-off, notice the cheap inner stands). A length of wire was cut and folded to make 3 lengths which were slightly shorter than the length of the para-cord. This was twisted and the curved wire ends bent with pliers, this was then inserted into the para-cord easily.

Once the wire is centred the two ends excess paracord is burnt down to seal the wire inside. I found that I had to use pliers to crimp the cooling plastic to seal it.

Bam, done. In this example my headphones are kept neat and tidy while traveling in my pocket.

*Future upgrades*

Due to the versatility of this idea, different length cable tidies can be tailored to the need of the job. I also estimate that up to 8 strands of my 1mm wire could be inserted into the para-cord, making one tough cable tidy when 3 strands wouldn’t be supportive enough.

Comments?